Changing a Broken Fibreglass Pole
Changing a Broken Fibreglass Pole
Fibreglass poles can split or crack and it is always a wise precaution to carry at least one spare pole, some tents may use several different size poles in their design, so it is worth having at least 1 pole for each size. Being prepared can save your holiday.
Manufacturers DO NOT warranty poles
Standard Fibreglass Pole Sizes are 7.9mm, 8.5mm, 9.5mm, 11mm & 12.7mm.
Most Family size tents use either 11 or 12.7mm Fibreglass Poles or a combination of both Sizes. Fibreglass poles come in standard diameters, as above and are interchangable between Manufacturers, you simply cut the replacement to the Length you require.
Always take care when handling Broken Fibreglass Poles as they can be extremely sharp.
We are assuming that you will be changing your broken pole on site and will have limited tools available. The only essential tool you require is a Hacksaw or Junior Hacksaw.
Carefully remove the damaged section of poles from your tent. Remembering that the broken pole will have sharp edges what can damage the tents fabrics.
Lay the damaged section of poles on the ground.
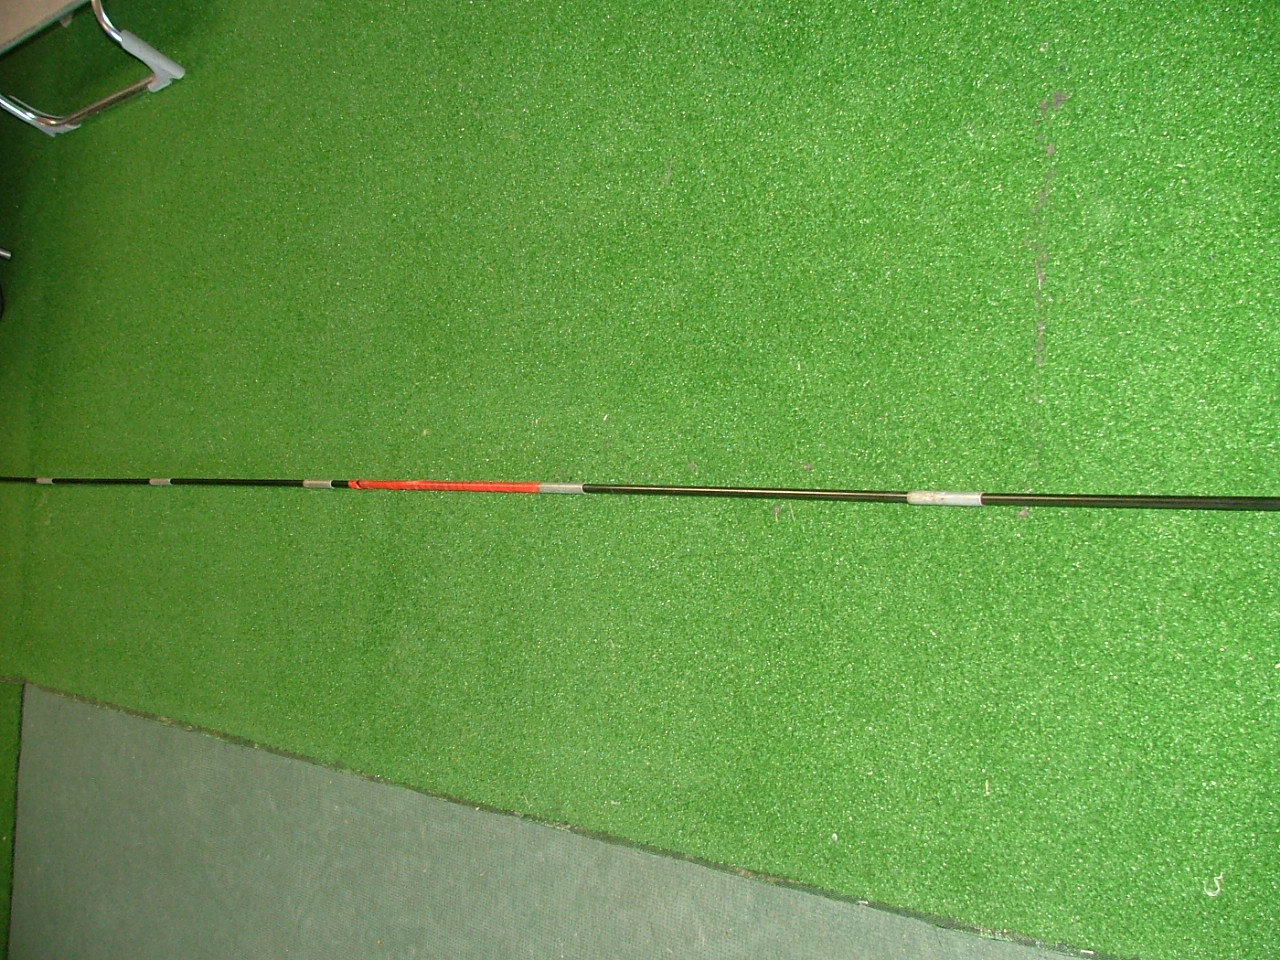
Choose the end pole nearest to the damaged section and separate it from the other poles.
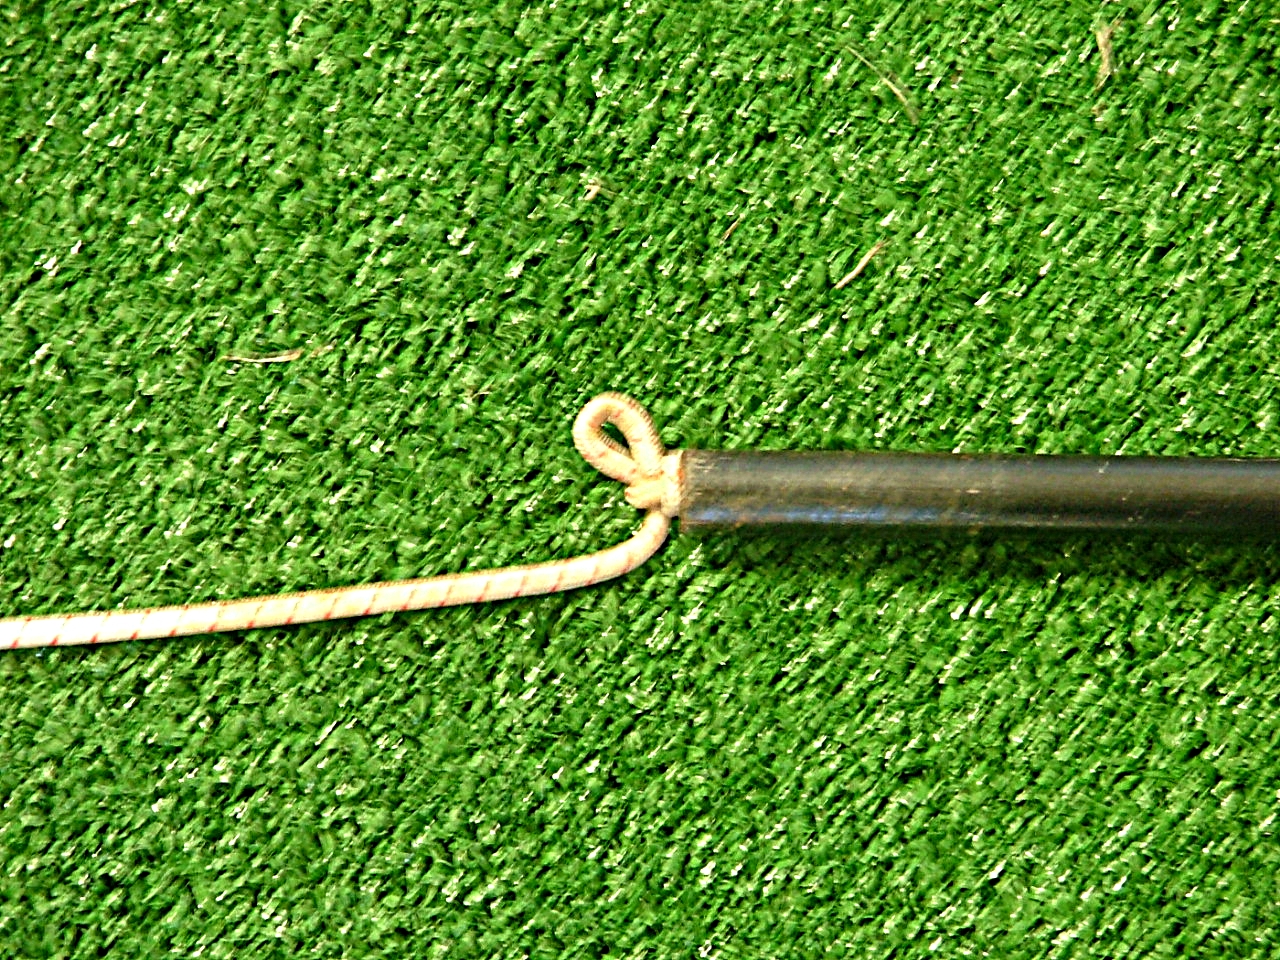
Pull the elastic to give yourself enough elastic to tie a simple slip knot. (Similar to tying the 2nd part of a Bow in a shoe lace) that will pull when you stretch the elastic. (you could also use a strong clothes peg or something simular to clip the elastic). This step is not essential but saves a lot of time re threading the elastic,
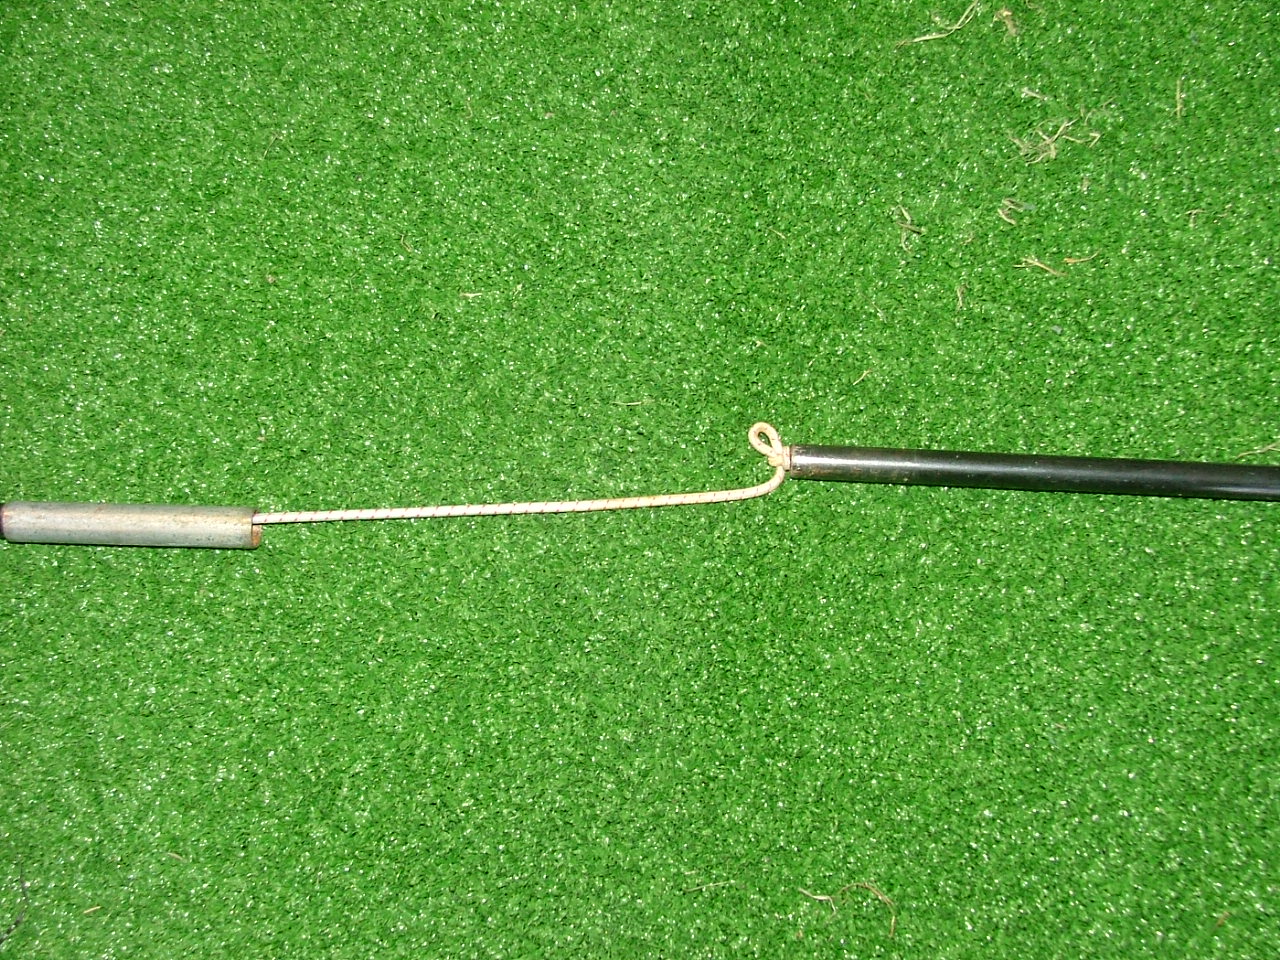
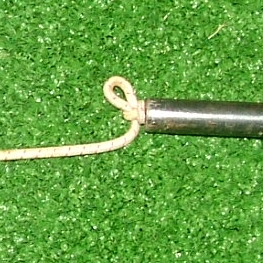
This should give you a loose piece of elastic and enable you to remove the end of the elastic from the end of the pole. Ensure there is no mud or dirt in the end of the pole and either tap the pole on hard ground which will sometime be enough for the knot at the end of the elastic to fall out from the end pole ferrule or use a hook to remove the elastic from the pole and untie or cut off the knot.
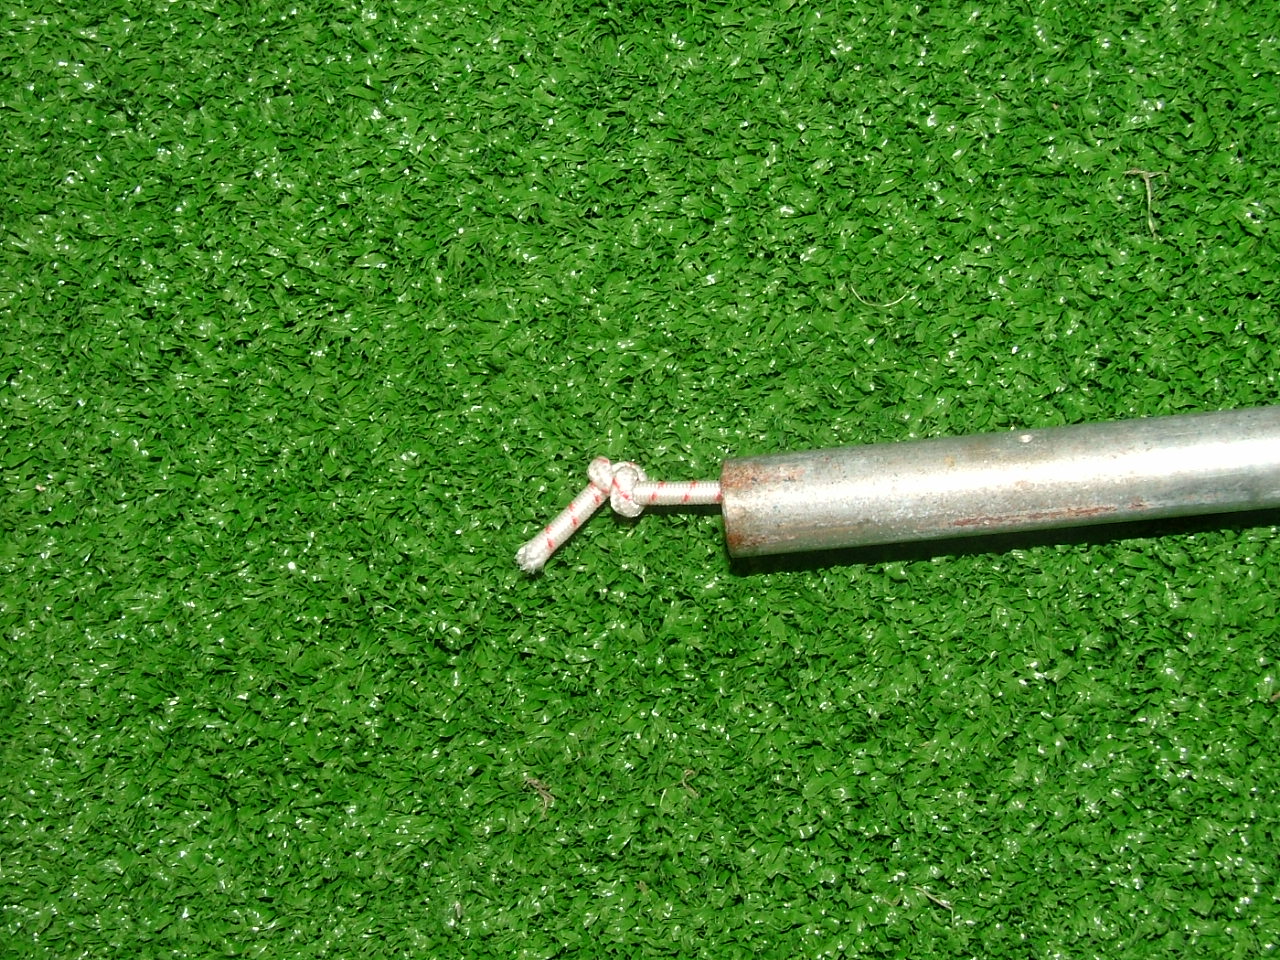
Remove the end pole and place to one side.
Untie the slip knot and remove the poles until you reach the damaged pole. To stop the elastic slackening and having to re-thread all the pole, hold onto the elastic as you remove each section and tie a simple slip knot again once you have removed the damaged pole.
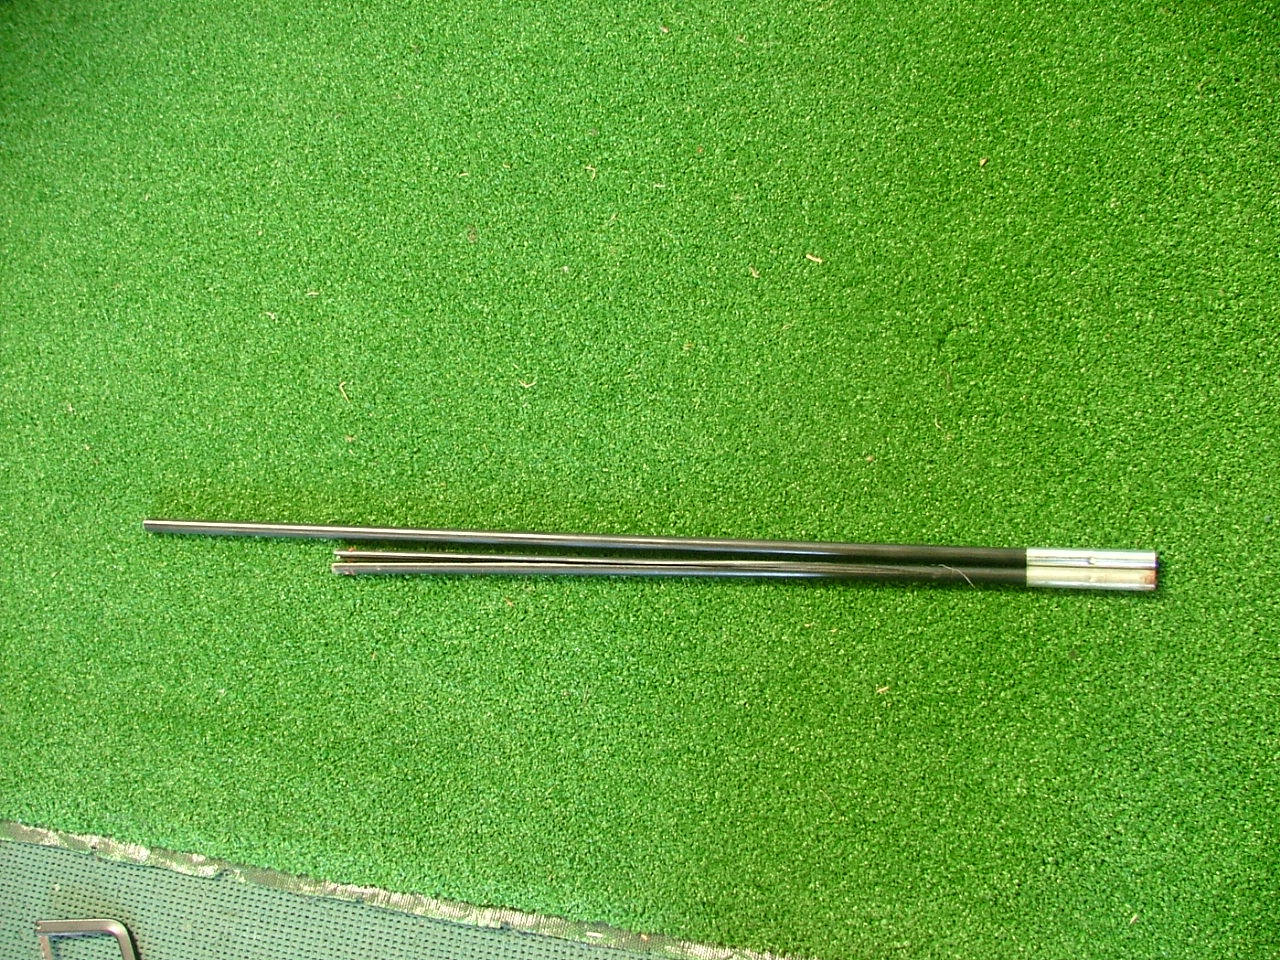
Line the damaged pole next to the replacement pole and score the replacement pole with a hacksaw or junior hacksaw to the correct length.
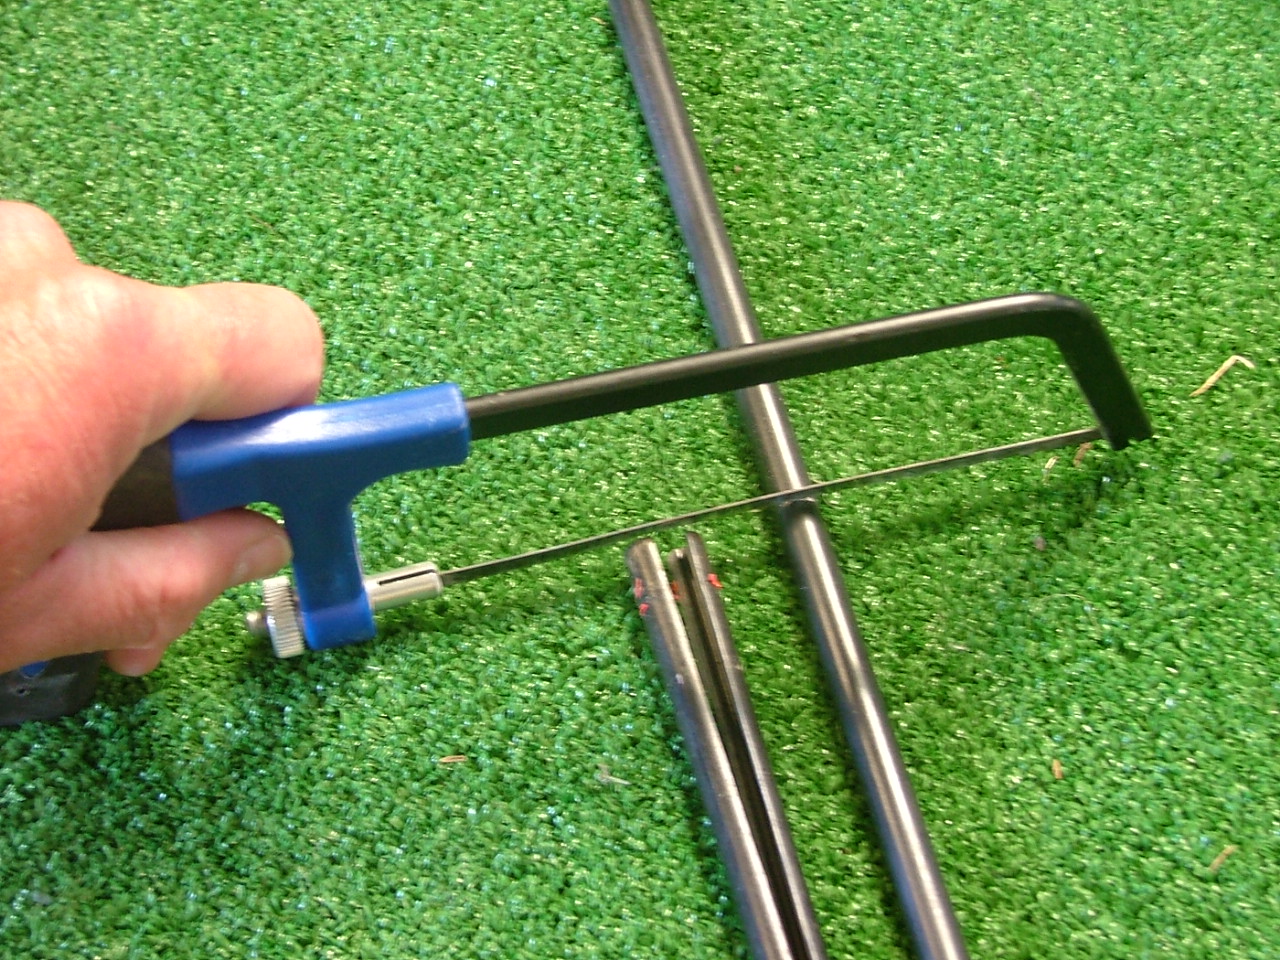
Cut the replacement pole, DO NOT just saw or cut straight through the pole (this will cause the new pole to splinter), but score around the pole, by turning the pole as you cut until you have scored the pole all the way round. You can then cut through the pole.
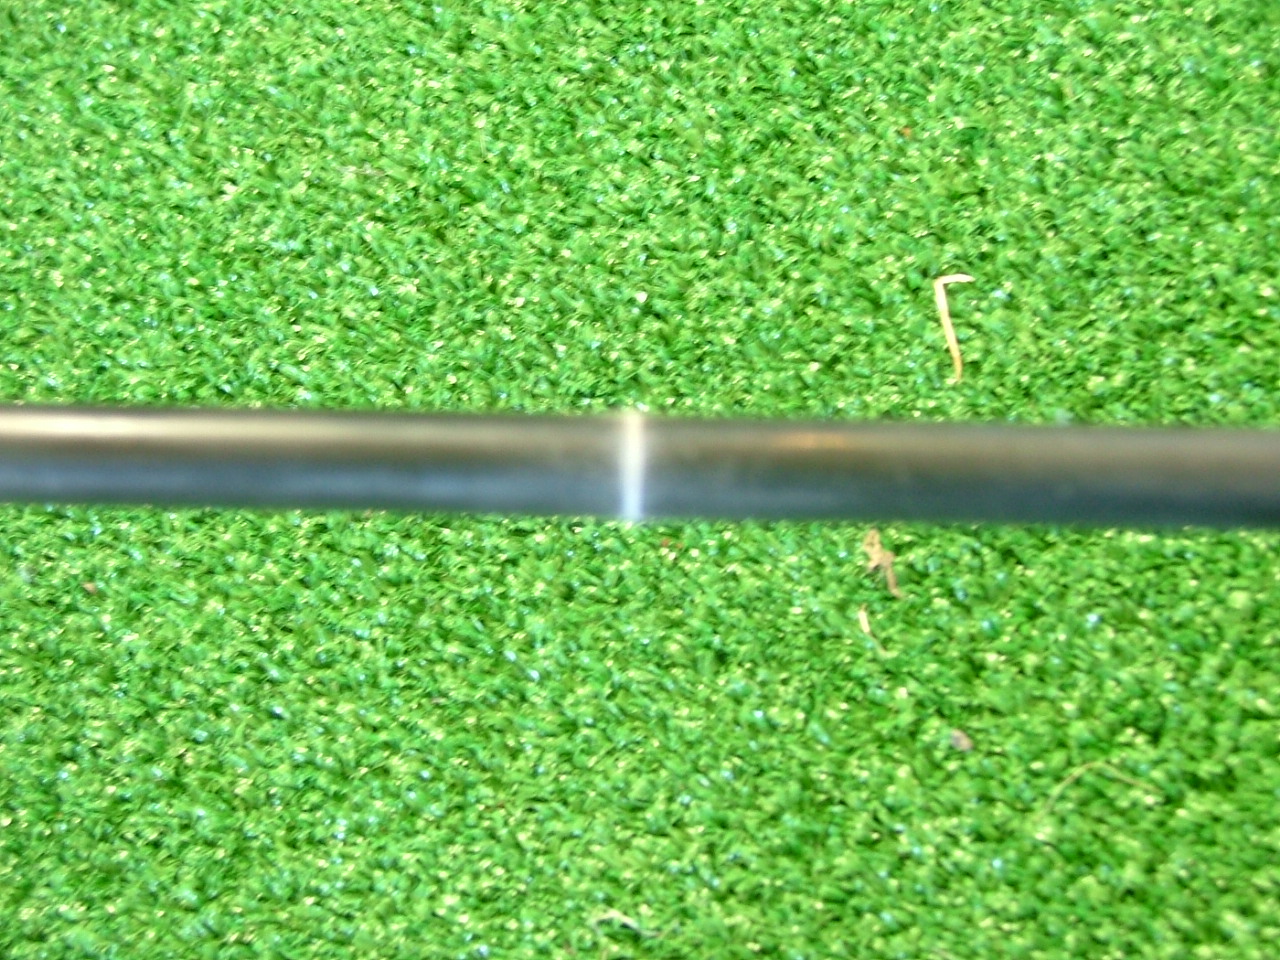
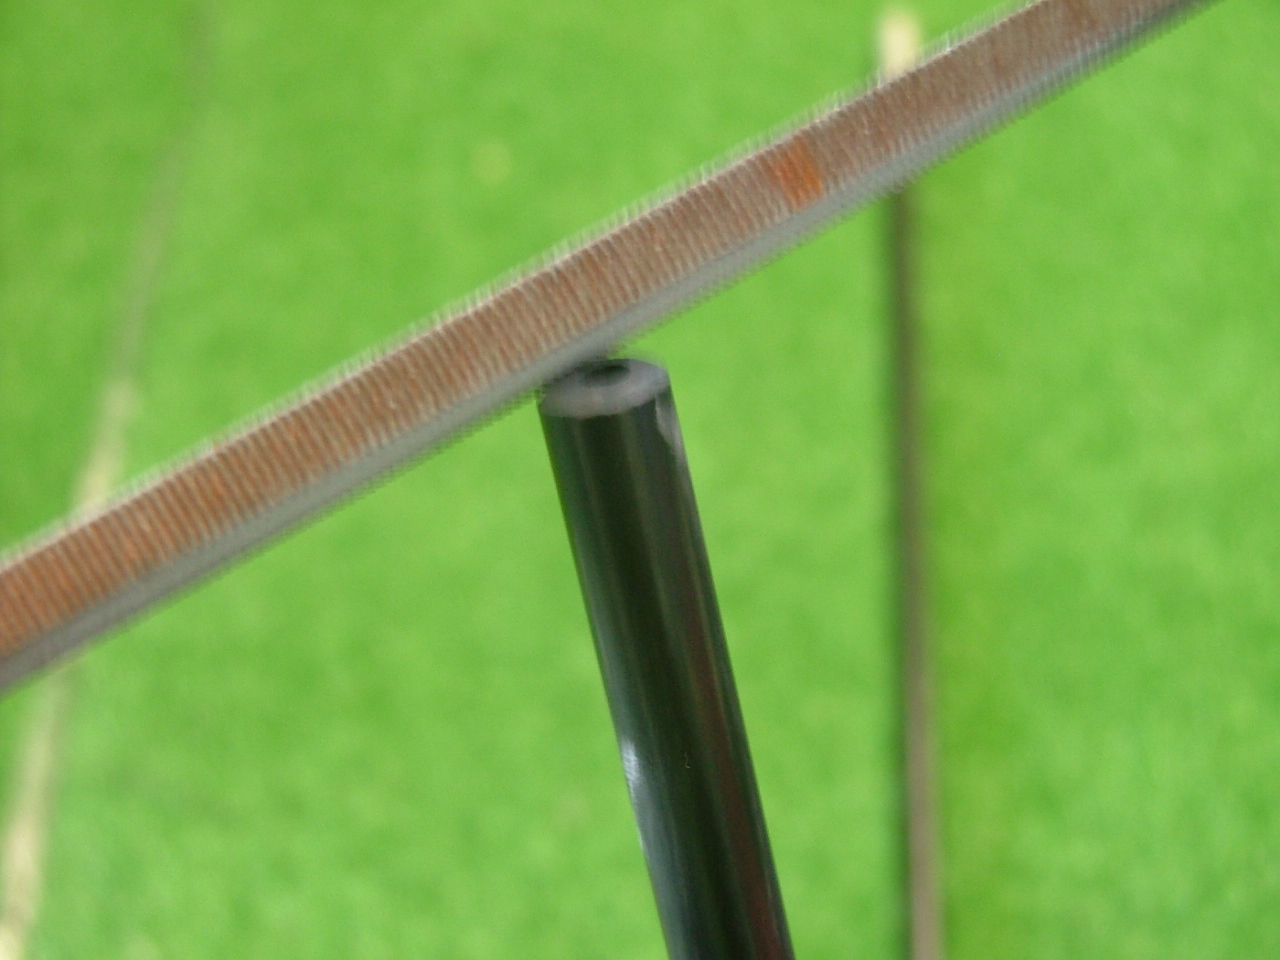
Chamfer the edge of the pole with a file or by rubbing on a stone or smooth concrete surface.
Re-thread the new pole through the elastic, again work with a series of simple slip knots, pulling the elastic to give excess elastic to work with. Some replacement pole sets will include a threader to allow you to thread the elastic through the poles, but this is not essential if you cut the end of the elastic to give a clean end to thread through the poles.
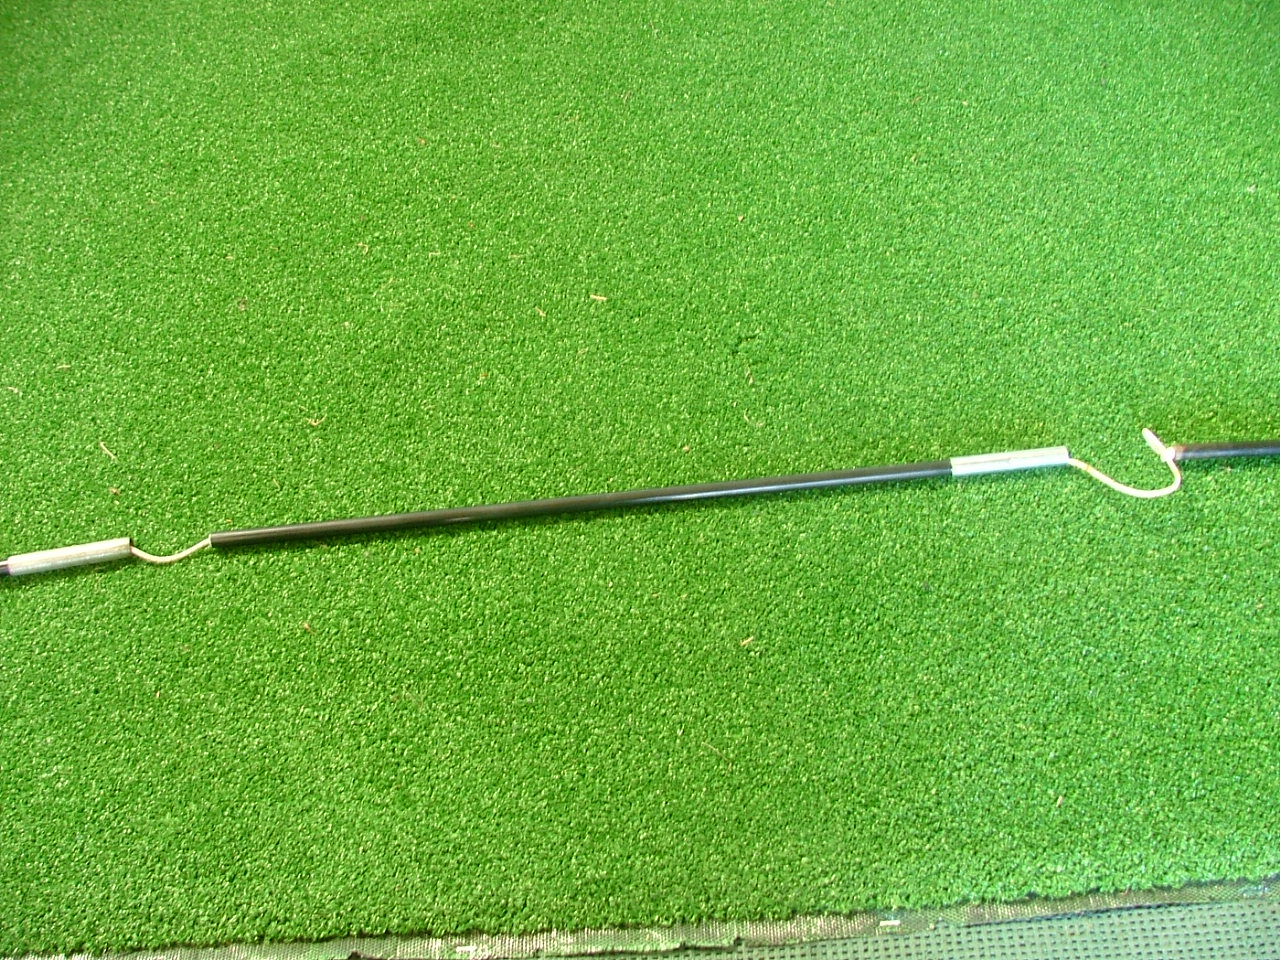
Once you have replaced all the pole sections, tie a knot in the end of the elastic and pull out any slip knot and you have now finished.
